Table of Contents
ToggleInstalling a home alarm system doesn’t always mean hiring a professional, many homeowners successfully handle home security system install projects themselves. Whether you’re looking to install security system at home for the first time or upgrading an existing setup, understanding your options and following a methodical approach makes the process manageable. This guide walks you through choosing the right system, gathering materials, planning your layout, and completing the actual installation. By taking time to learn how to install home security system properly, you’ll gain both the security you need and the satisfaction of doing it yourself.
Key Takeaways
- A DIY alarm system install is achievable for most homeowners by choosing between wireless, wired, or hybrid systems based on your home’s layout and technical comfort level.
- Gather essential tools like a drill, level, stud finder, and materials such as sensors and batteries before starting your alarm system install to maintain project momentum.
- Plan your system layout carefully by mapping entry points, prioritizing doors and windows, and testing sensor alignment before final installation to avoid costly mistakes.
- Wireless systems require minimal wiring and are ideal for renters and finished homes, while wired systems offer reliability and continuous power for new construction or major renovations.
- Complete thorough testing by verifying each sensor response, simulating alarms, and confirming monitoring service connectivity before considering your alarm system installation complete.
- Maintain your system through annual battery replacements, monthly door tests, regular sensor cleaning, and professional inspection if hardwired to ensure long-term security performance.
Types Of Alarm Systems And Which One Fits Your Home
Before diving into a home alarm system install, you need to know what you’re actually installing. The two main categories are wireless and wired systems, each with distinct pros and cons.
Wireless alarm systems are popular with DIYers because they require minimal drilling and wire routing. Sensors communicate via radio frequency to a central hub, making setup faster and less invasive. They’re ideal if you rent, have finished walls you don’t want to damage, or prefer avoiding extensive cabling. Battery-powered components mean no rewiring through walls or attics, just mount them where needed.
Wired home alarm systems offer hardwired reliability and continuous power, eliminating battery maintenance concerns. They’re better suited for new construction or major renovations where walls are already open. Wired installs demand more planning and often require running cables through studs and joists, which many DIYers find daunting but achievable.
Hybrid systems combine both approaches, letting you wire essential entry points (doors, main windows) and go wireless elsewhere. Your choice depends on your home’s layout, your comfort with running cable, and whether you need professional monitoring or just local alerts. Consider a Ring Home Alarm System or Frontpoint Home Alarm if you want trusted name-brand options with DIY-friendly wireless designs.
Essential Tools And Materials You’ll Need
Gather your supplies before starting. Having everything on hand prevents mid-project trips and keeps momentum going.
Tools:
- Drill with bits (for mounting brackets and pilot holes)
- Level (essential for proper sensor alignment)
- Stud finder (locating framing for secure mounting)
- Screwdriver set (Phillips and flat-head)
- Drywall anchors and fasteners (for non-stud mounting)
- Tape measure and pencil
- Wire stripper and crimper (for wired systems only)
- Fish tape or wire puller (routing cable through walls)
Materials depend on system type:
- Control panel with backup battery
- Wireless sensors (door/window contact sensors, motion detectors)
- Mounting brackets and adhesive strips
- Batteries for sensors (typically AA or AAA)
- Ethernet cable or phone line (if needed for monitoring)
- Cable covers or conduit (tidying exposed wires)
- Weatherproof enclosure (if panel goes on exterior)
Wireless systems typically need AA or AAA batteries, stock extras. Wired systems require low-voltage cable (typically 18-22 gauge) rated for alarm use. Visit a local home improvement store or check HomeAdvisor for material sourcing and cost estimates tailored to your region.
Planning Your Alarm System Layout
Proper planning prevents costly mistakes during how to install home security system execution. Spend time mapping where everything goes before mounting anything.
Start by identifying your home’s perimeter: all doors, windows, and potential entry points. Walk around your property and note each one. Draw a simple floor plan (sketch paper is fine) and mark sensor locations. Consider traffic patterns, motion sensors shouldn’t be in hallways where family members pass constantly, or you’ll get false alarms.
Think about control panel placement. It should be accessible but not immediately visible to someone at the front door. A foyer closet, utility room, or bedroom works well. If you choose an exterior mounting point, use a weatherproof enclosure rated for outdoor temperature swings. Ensure it’s within 50 feet of your internet router if using WiFi connectivity.
Identifying Vulnerable Entry Points
Not all entry points are equal. Prioritize main doors (front, back, garage) first. These are where most break-ins occur. Secondary windows in bedrooms or side doors come next. Don’t forget basement windows, sliding glass doors, or French doors, small openings that seem less important are often targeted.
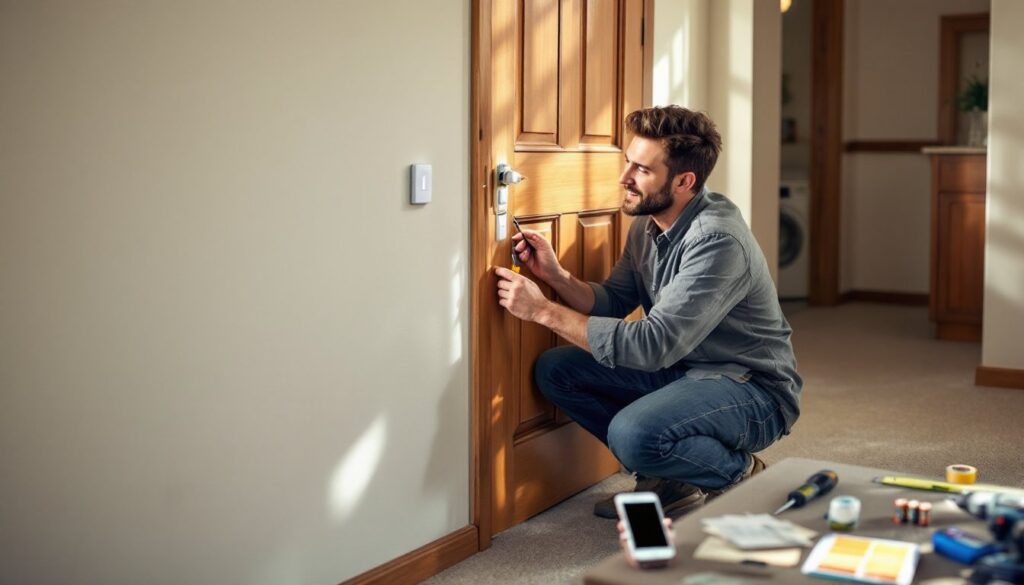
Install door sensors on opening sides: mount them so the magnetic contact aligns when the door closes (usually 1-2 inches apart). For windows, mount sensors on frames where they’ll read the sash position reliably. Test sensor alignment with a magnet before finalizing placement. Check AT&T Home Alarm for reference layouts if you’re deciding between entry-point-only versus whole-home coverage strategies.
Installation Steps For Your Alarm System
With your layout complete, installation proceeds logically. Follow manufacturer instructions, they vary by system and model, but these steps apply broadly.
For wireless systems:
- Charge the control panel fully before starting.
- Mount the panel in your chosen location using the provided bracket and screws into wall studs when possible (use drywall anchors if studs aren’t available).
- Install batteries in all sensors.
- Mount sensors on doors and windows using the provided adhesive backing or small screws, ensure they’re level and aligned.
- Perform a communication test through the app or panel to confirm each sensor reports correctly.
- Program entry and exit codes and set monitoring preferences.
For wired systems:
- Plan your wire routing. Avoid running low-voltage cable parallel to electrical wiring for more than a few feet (interference risk). Use separate conduit if necessary.
- Drill pilot holes in studs or use existing wall cavities to route cable.
- Run cable from the control panel to each sensor location, leaving 6 inches of slack at each end for connections.
- Strip and crimp wire ends to terminal blocks on the panel and sensors.
- Mount sensors and test continuity with a multimeter before finalizing.
Wiring And Component Placement
For wired installs, use low-voltage cable rated for alarm systems. Standard telephone cable isn’t ideal, proper alarm-grade cable withstands voltage fluctuations better. Secure cable every 12-16 inches with clips (don’t use staples, which can pinch and damage insulation). Bury cable under trim or conduit in visible areas for a clean look.
Sensor mounting requires precision. A misaligned contact won’t register properly, defeating your system. Use painter’s tape to mark positions before drilling. Check Home Door Alarm guides for detailed sensor placement photos if you’re unsure about spacing. Motion detectors should be mounted 5-6 feet high, angled slightly downward to cover entry paths without catching pets below 25 pounds (unless you want false alarms from Fido).
Testing, Configuration, And Maintenance
Installation isn’t complete until your system works reliably. Testing takes patience but saves headaches later.
Initial testing:
- Open each sensor (door or window) individually and verify the panel registers the breach. A delayed response means a wiring or battery issue.
- Test motion sensors by walking slowly through coverage zones: confirm they trigger alerts without false positives.
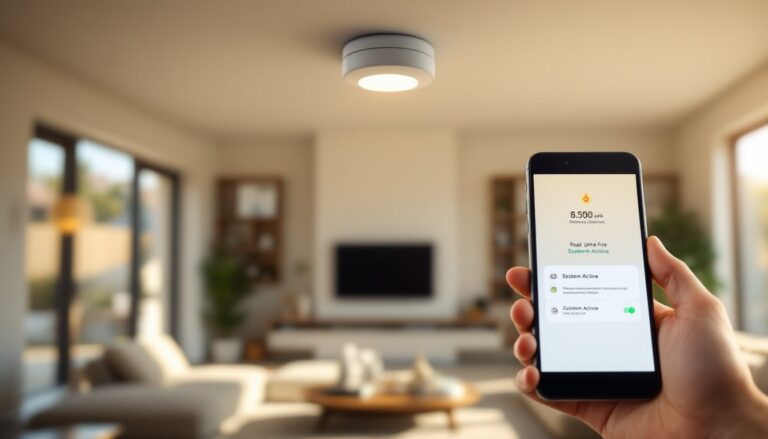
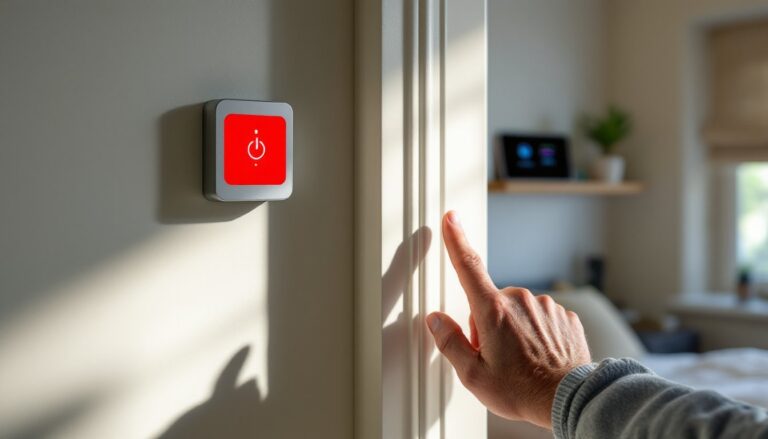
- Simulate an alarm by opening a door with the system armed. Verify sirens sound and notifications reach your phone.
- Confirm the control panel can communicate with monitoring service (if subscribed) or your smartphone app.
Test in different lighting conditions if using motion sensors. Direct sunlight or reflective surfaces sometimes cause false triggers. Adjust sensor angles or sensitivity settings as needed, most systems have adjustable thresholds in the settings menu.
Ongoing maintenance:
- Replace wireless sensor batteries annually or when the panel alerts you (usually 2-5 years depending on usage).
- Dust sensors every 6 months so dirt doesn’t interfere with contacts.
- Test the system monthly by opening a door with the system armed.
- Keep your app updated and monitor system health notifications.
- Schedule professional inspection annually if your system is hardwired (they can check power supply and backup battery condition).
Wireless systems typically require less maintenance than wired setups. Consider Google Home Alarm System features if you want smart home integration alongside traditional alarm functions. For comprehensive reviews and product comparisons, Tom’s Guide covers home security technology thoroughly. Regional considerations matter too, check Home Alarm Systems Brisbane or Home Alarm Las Vegas guides if climate affects your component lifespan in hot or humid regions.
If at any point you feel overwhelmed, it’s perfectly reasonable to call a professional for part of the install. Many companies offer partial DIY where they handle wiring and you handle sensor placement, splitting labor costs.