Table of Contents
ToggleInstalling a home alarm system doesn’t have to mean waiting for a technician or paying installation fees. Many modern systems, especially wireless options, are designed with DIYers in mind and can be set up in a few hours using basic tools and your own two hands. Whether you’re protecting a starter home, a rental property, or a full house, understanding your options upfront makes the difference between a smooth installation and a frustrating one. This guide walks you through the entire process, from choosing the right system type to testing your finished setup, so you can take control of your home security.
Key Takeaways
- Wireless home alarm system installation is ideal for DIYers—it takes 1–2 hours, requires no wall drilling, and is perfect for renters or anyone wanting a quick, non-invasive setup.
- Wired systems offer reliability and no battery maintenance but demand serious prep work: wall access, cable running, drywall patching, and can take a full weekend to install properly.
- DIY home alarm system installation saves $200–600 on labor when you’re comfortable with basic tools, have a straightforward layout, and fewer than 20 sensors; otherwise, professional installation ($300–800) may be worthwhile.
- Before installation, map all entry points, clean adhesive surfaces thoroughly, test sensor placement with alignment checks, and always perform a full system test in test mode to catch signal gaps or false triggers.
- A hybrid approach—installing wireless sensors yourself while hiring professionals for monitoring setup and system programming—balances cost savings, control, and reliability for homeowners unsure about full DIY commitment.
Understanding Your Home Alarm System Options
Before you drill a hole or mount a sensor, decide what kind of system fits your home and skill level. The two main categories, wired and wireless, have very different installation curves and long-term implications.
Wired vs. Wireless Systems
Wired systems run hardwired sensors through your walls, connected to a central control panel via cables (typically Cat5 or dedicated alarm wire). They’re reliable, don’t need battery replacements, and won’t lose signal. The catch? They require running wire through studs, potentially cutting drywall, and patching walls afterward. If your home has accessible crawl spaces or attics, installation gets easier. If you’re in a finished basement or second story with no access above, you’ll be surface-mounting wire in conduit, visible and less elegant.
Wireless systems use radio frequency to communicate between sensors and a base station. Installation is straightforward: peel-and-stick adhesive or small brackets mount sensors to doors and windows, and you’re done. No wiring, no wall damage, no permits required. The tradeoff is battery maintenance (typically every 3–5 years), occasional signal issues in concrete or metal-heavy homes, and generally higher upfront equipment costs. For renters or anyone wanting a quick setup, wireless wins every time.
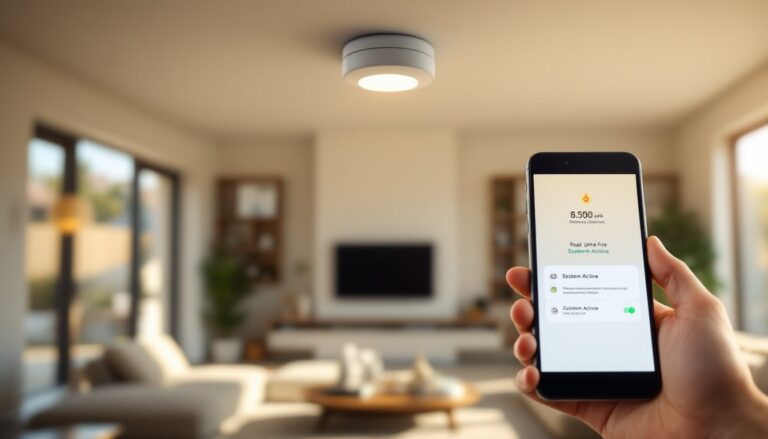
A home alarm system installation often works better when you pick wireless if you’re a first-timer. Most modern systems integrate with smartphones, so you’ll arm, disarm, and monitor from your pocket. Check whether your choice works with a professional monitoring service (usually $15–40/month) or if you want self-monitoring via an app.
Preparing Your Home for Installation
Good prep work prevents mistakes and makes installation faster. Spend 30 minutes mapping out your entry points before you open any boxes.
Tools and Materials You’ll Need
For wireless systems:
- Drill-driver (for optional wall mounting if adhesive won’t stick)
- Level (even small sensors should sit square)
- Measuring tape
- Pencil
- Small screwdrivers (usually Phillips and flathead)
- Mild degreaser or rubbing alcohol (to clean adhesive surfaces)
- Painter’s tape (optional, to test placement)
For wired systems:
- Power drill with long bits (for running wire through walls)
- Drywall saw or oscillating multi-tool (if you need to cut access holes)
- Fish tape (to pull wire through cavities)
- Staple gun or cable staples (to secure wire to studs)
- Voltage tester (for safety when working near electrical)
- Wire strippers and crimpers (for terminal connections)
- Drywall patch supplies (spackle, sandpaper, primer, paint)
Before starting, photograph or sketch your floor plan and mark all doors, windows, and potential entry points. Walk the perimeter outside and note which windows are reachable from ground level, those need sensors. Check your wall composition: older homes with plaster are tougher to drill than drywall, and concrete blocks require masonry bits.
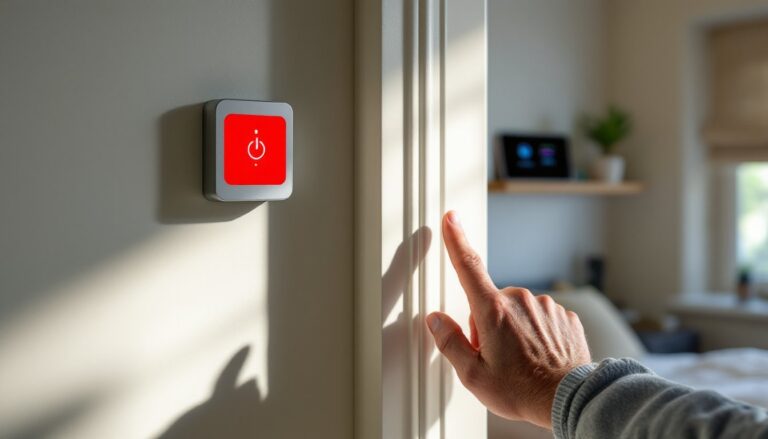
Read the manufacturer’s installation manual completely before touching anything. Frontpoint Home Alarm: A Comprehensive Overview systems and others provide detailed wiring diagrams that vary by model. If your system requires a hub or control panel, decide where it’ll live, usually near your internet router and a power outlet. Avoid placing it in a closet or garage where signal might weaken.
Step-by-Step Installation Process
For Wireless Systems:
-
Mount the hub or control panel. Place it centrally in your home, usually on a shelf in a main room. Plug it in and connect it to your Wi-Fi. Confirm the connection via the app before moving forward.
-
Clean sensor surfaces. Use rubbing alcohol on any dusty or greasy spots where you’ll attach adhesive. Let dry completely, adhesive doesn’t stick to residue.
-
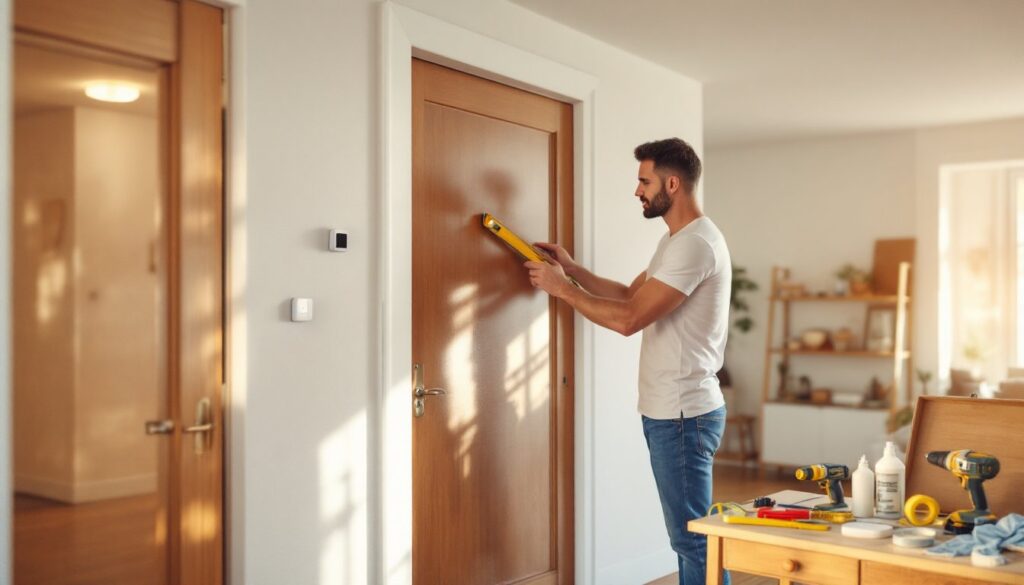
Install door and window sensors. Most wireless sensors come as a two-part unit: a small magnet (goes on the door or window sash) and a sensor body (goes on the frame). Peel the adhesive backing and press firmly for 30 seconds. Level matters less than you’d think, but keep sensors within 6 inches of each other vertically. If adhesive alone won’t hold (rough or angled surfaces), drill a pilot hole and use the supplied bracket instead.
-
Add motion detectors. Place these in hallways or rooms where entry occurs. Avoid pointing them directly at heat sources (fireplaces, radiators) or windows with direct sunlight, false triggers follow. Mount at eye level or slightly above, and test the detection zone by walking past it after activation.
-
Test each sensor. Most systems have a “test mode” in the app or control panel. Open a protected door or trigger motion, and confirm the hub registers it. Do this before fully arming the system.
For Wired Systems:
-
Run wire from the control panel. Using fish tape, pull alarm wire (typically 4-conductor or 6-conductor) through wall cavities to each sensor location. If you can’t avoid surface-running, buy cable raceway (plastic or metal conduit) and staple it along walls and baseboards.
-
Mount sensors at entry points. Use the manufacturer’s bracket or drill small pilot holes and screw sensors flush to the wall. Keep wires taut but not pulled tight, you need a little slack for flexibility.
-
Strip and terminate wires. At each sensor, strip about 1/2 inch of insulation from the wire ends and crimp or screw them into the sensor’s terminal block, matching the polarity indicated in the manual.
-
Run power to the control panel. Hardwired systems need a dedicated breaker and outlet, ideally on a separate circuit. If you’re unsure about electrical code in your area, hire a licensed electrician for this step, it’s worth the $150–300 to avoid fires or liability issues.
-
Seal and finish. Use small cable staples every 12–16 inches to secure wire to studs. If you cut drywall access holes, patch them with spackle, let dry, sand smooth, and paint to match. This step takes time but keeps your walls looking intentional, not damaged.
Installation complexity depends on your home’s layout and your comfort level with tools. Wireless typically takes 1–2 hours: wired can take a full weekend, especially if you’re patching walls. The Ultimate Guide to Integrated Home Security shows examples of both approaches in real homes, which can clarify your choice.
Professional vs. DIY Installation: Which Is Right for You
DIY works well if you’re comfortable with basic tools, patient with details, and have a straightforward home layout (no concrete foundation, accessible walls, fewer than 20 sensors). You’ll save $200–600 on installation labor and gain control over timing and aesthetics.
Professional installation makes sense if your home has structural complexity (multiple levels, thick concrete, metal studs), you want a wired system, or you prefer guaranteed results backed by warranty. Professional installers typically charge $300–800, depending on system size and local rates. They also handle customer service paperwork and monitoring setup, valuable if you’re not tech-savvy.
A hybrid approach works too: install wireless sensors yourself and hire a pro for the monitoring service contract and system programming. This balances cost, control, and reliability. According to HomeAdvisor’s project cost estimator, the average DIYer saves money on labor but should budget for mistakes, trial-and-error, and finishing touches like drywall repair. When in doubt, consult the system manufacturer’s FAQ or call their support line, a 15-minute conversation often answers “Is this a DIY job for my home?”
Testing and Troubleshooting Your System
Once everything is mounted and wired, testing prevents blind spots on day one. Most systems include a test mode that logs sensor activity without triggering an alarm.
-
Arm the system in test mode. Use the control panel or app to switch to test/bypass mode (exact steps vary by brand).
-
Open every protected door and window. Slowly, one at a time. Watch the app or panel log the event. If a sensor doesn’t register, check the magnet alignment, battery (for wireless), or wire connection (for wired). A gap of more than 1/4 inch between door/window and frame sensor breaks the circuit.
-
Trigger motion detectors. Walk through hallways and rooms where motion sensors sit. Wait 30 seconds for the sensor to cool down between tests, repeated rapid motion sometimes triggers false positives.
-
Test backup power. Unplug the hub or panel (if it’s battery-backed) and confirm it still operates for 30 seconds. This ensures you’re protected if power goes out.
-
Arm the system normally. Switch out of test mode and fully arm the system. Leave a door unlocked and open it from outside (or ask a neighbor to help). Confirm the alarm sounds and notifications reach your phone.
Common issues: No signal on wireless sensors often means the hub is too far away (test moving it closer to confirm). False alarms on motion detectors usually point to pets or air currents: adjust the sensitivity setting or reposition the sensor. Wired sensors not registering typically mean a loose terminal or broken wire, gently wiggle the connection or use a multimeter (set to continuity mode) to test the wire from panel to sensor.
If your system connects to a professional monitoring service, call them before fully arming, some require you to enter a test code so they don’t dispatch emergency responders during your test. Good Housekeeping’s home safety guide offers checklists for testing motion sensors and door locks in context with your full security plan.