Table of Contents
ToggleHome security is no longer a luxury, it’s a necessity. Whether you’re protecting a family or a small rental property, a First Alert alarm system delivers straightforward, dependable protection without the premium pricing of traditional monitored services. First Alert has been a trusted name in home safety for decades, known for practical sensors, intuitive controls, and flexible installation options that suit DIY enthusiasts and occupied homes alike. This guide walks you through what a First Alert system offers, how to install it yourself, and whether it makes financial sense for your situation.
Key Takeaways
- A First Alert alarm system offers affordable, DIY-friendly home protection with wireless sensors, a control panel, and optional professional monitoring starting at $10–20 per month.
- Installation is straightforward for DIYers: mount the control panel centrally, place adhesive-backed sensors on entry points, pair them wirelessly with the panel, and configure the mobile app for real-time alerts.
- First Alert systems integrate motion sensors with pet immunity, glass break detectors, and smoke/CO sensors, all communicating via 900 MHz or 2.4 GHz radio bands with 100–300 foot range.
- You’ll save $200–500 in installation labor compared to professional security companies, and many insurance providers offer 5–15% homeowner policy discounts for verified alarm systems.
- Whether monitored (professional 24/7 service) or unmonitored (self-response), a First Alert alarm system provides flexibility without long-term contracts, unlike traditional ADT or Vivint services that charge $40–60 monthly.
What Is a First Alert Alarm System?
A First Alert alarm system is a network of sensors, a control panel, and optional monitoring service designed to detect unauthorized entry, motion, smoke, or carbon monoxide in your home. Unlike security cameras or smart locks, an alarm system’s job is to alert you, and optionally a monitoring center, when something goes wrong.
First Alert systems come in two flavors: monitored (a professional service watches your sensors 24/7 and can contact emergency services) and unmonitored (you get alerted but handle response yourself). Most DIYers start with unmonitored or hybrid setups, which give you flexibility and lower recurring costs.
The appeal for homeowners is clear: no complicated wiring permits (for wireless systems), no contractor markup, and the ability to expand or modify your setup without calling a technician. You buy the hardware, install it yourself, and manage it via an app or keypad.
Key Features and Technology
Modern First Alert systems integrate multiple safety functions into a single platform. Your control panel acts as the brain, communicating with sensors via radio frequency (wireless) or hardwire (older, more expensive installs). Most new First Alert units are wireless, which means no fishing cables through walls or dealing with conduit.
System components typically include door and window sensors, a keypad, a siren, and backup battery. Some premium models add a built-in camera or smart hub that communicates with other devices in your home. Response time is nearly instant, sensors trigger the panel, which sounds an alarm and (if monitored) notifies the service provider within seconds.
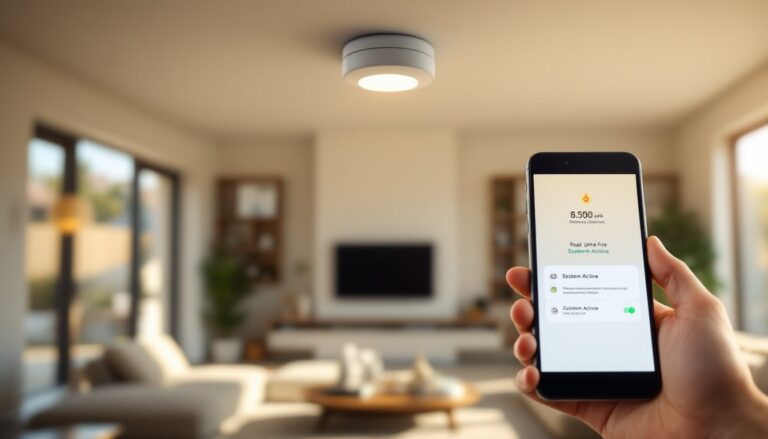
First Alert systems also integrate with mobile apps, letting you arm or disarm remotely, check sensor status, and receive push notifications when a door opens or motion is detected. This real-time feedback is especially useful if you’re away or checking on an elderly relative.
Sensor Types and Detection Capabilities
Door and window sensors are the foundation. They’re magnetic switches: when a door or window opens, the magnet separates from the switch, triggering the panel. These are passive (no batteries) and incredibly reliable.
Motion sensors use passive infrared (PIR) technology to detect body heat. They’re great for interior coverage but prone to false alarms from pets, so many modern models include pet immunity (sensitivity adjustments that ignore cats or small dogs).
Glass break detectors listen for the acoustic signature of breaking glass. They’re wireless and battery-powered, with a lifespan of 3–5 years per set. Useful for ground-floor windows or sliding glass doors.
Smoke and carbon monoxide detectors from First Alert’s Onelink line integrate with your security panel. These aren’t just alarms: they’re smart sensors that communicate status to your phone. First Alert Onelink models have earned high marks for combining smoke detection with voice alerts and mobile notifications.
Sensor range and frequency matter. First Alert systems typically use 900 MHz or 2.4 GHz radio bands, with 100–300 foot range depending on walls and interference. Thick concrete or metal siding reduces range, so verify compatibility in your home before ordering.
Installation Options for DIY Enthusiasts
This is where First Alert shines for DIYers. Most wireless systems are genuinely plug-and-play, assuming you’re comfortable with basic tools and reading instructions carefully.
What you’ll need:
- The control panel (wall-mounted or stand-alone)
- Door/window sensors (adhesive-backed or screwed)
- Motion sensor(s)
- Backup battery (usually included)
- A smartphone or computer to configure the system
- Optional: siren (indoor or weatherproof outdoor model)
Tools: A drill with bits, a level, a tape measure, and a screwdriver, nothing exotic.
Step-by-step installation:
-
Choose locations for sensors. Mark entry points (exterior doors, ground-floor windows). Install door sensors on the door frame itself, not the door: they need to trigger when the frame is breached. Motion sensors go in corners or high-traffic areas, away from heat sources and direct sunlight.
-
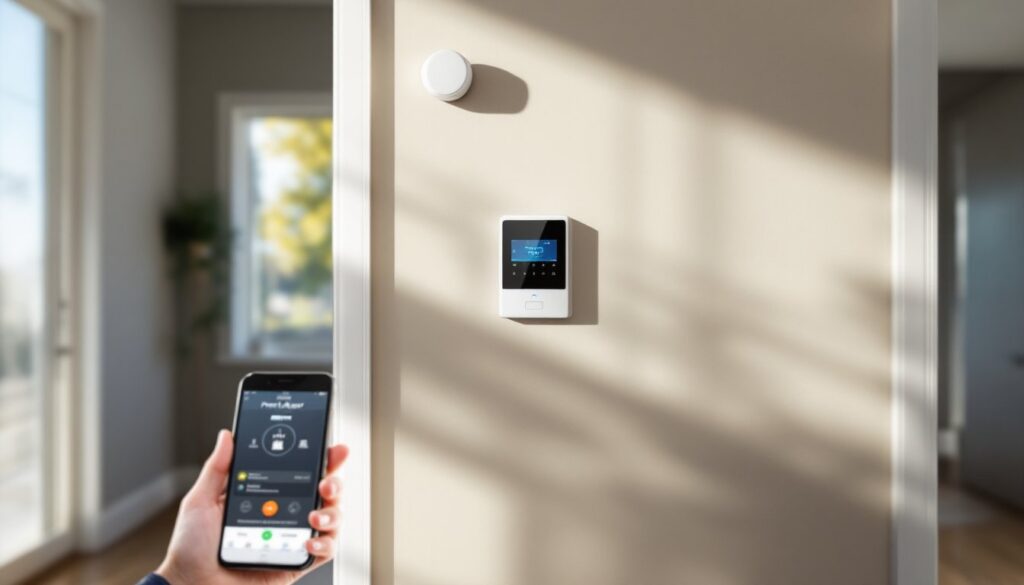
Mount the control panel. Pick a central location near power and internet (if using Wi-Fi monitoring). Use the included bracket and level it. Don’t hide it in a closet, it needs to hear and broadcast to sensors throughout your home.
-
Install sensors. Clean the surface with rubbing alcohol and let it dry. Peel the adhesive backing and press the sensor firmly for 30 seconds. For wired setups, you’ll drill small holes and run low-voltage wire (same gauge as doorbell wire) through walls or conduit. Wireless is faster and less invasive.
-
Pair sensors with the panel. Most First Alert systems have an “enrollment” or “learning” mode. You’ll hold a sensor near the panel and press a button: the panel beeps and adds it to the network. Check the manual for exact steps.
-
Test each sensor. Open a door, trigger a motion sensor, and verify the panel responds. False alarms are usually caused by weak battery connections or sensors pointing the wrong direction.
-
Set up the app. Download the First Alert app, create an account, and link your panel. Configure notification preferences (do you want push alerts for every door opening, or only when armed?).
Honest note: If your home has thick stone walls, metal studs, or is sprawling (over 3,000 sq. ft.), wireless range can be spotty. You may need a range extender or hybrid wired/wireless setup. Professional alarm repair services can diagnose range problems, but most DIYers solve this by repositioning sensors or the panel slightly.
Permits and codes vary by location. Security system wiring is typically Class 2 (low-voltage) and often exempt from electrical permits, but confirm with your local building department before running large amounts of wire.
Monitoring and Mobile Integration
A First Alert system can work entirely offline, sensors alert the panel, which sounds a siren. You hear it, you respond. But adding mobile integration and optional professional monitoring unlocks real value.
Self-monitoring via app means you get push notifications on your phone when a sensor triggers. You can disarm the system remotely or contact authorities yourself. This is free or bundled with the system hardware.
Professional monitoring (optional, ~$10–20/month) means a service center watches your panel 24/7. If the siren sounds, they contact you and dispatch police if you don’t respond. This adds liability protection and is what most insurance companies recognize for premium discounts.
First Alert integrates with Amazon Alexa, Google Home, and other smart home platforms, letting you voice-control arming (“Alexa, arm my security system”) and receive voice notifications. Integration is usually free after the initial setup.
Motion sensor alarms are especially useful with mobile alerts. You can check if motion was triggered while you were out, potential intruder or just the cat knocking something over, before calling police.
Battery backup is standard. Most panels have a rechargeable battery good for 24–48 hours without power, so outages don’t compromise your system. Sensor batteries (for wireless units) typically last 3–5 years: the app usually warns you when they’re running low.
Cost Considerations and Value
Hardware costs for a basic First Alert system range from $200–600 depending on coverage (entry-only vs. full home, number of sensors, and whether you add cameras or smart locks). A bare-bones starter kit with one door sensor, keypad, and siren might run $250: a multi-door, multi-motion setup with monitoring hub climbs to $500+.
Wireless systems cost slightly more upfront than wired but save on labor and wall damage. Monitoring services add $10–20 per month or $100–240 annually if prepaid. That’s a fraction of what traditional security companies charge ($40–60/month).
Value for DIYers comes from:
- No installation labor (saves $200–500)
- Scalability (add or remove sensors without service calls)
- Insurance discounts (many insurers offer 5–15% off homeowner policies with verified alarms)
- Peace of mind (24/7 awareness if you opt for professional monitoring)
Return on investment depends on your risk profile. A high-crime neighborhood or vacation rental justifies the cost quickly: a quiet suburb may never “pay for itself” in avoided losses but still offers security assurance.
Comparing alternatives: Ring, Wyze, and other smart home brands offer cheaper DIY systems ($150–400), but they lack the depth of sensors and redundancy that First Alert provides. Home door alarms from other brands are often single-purpose (one door, battery-powered, no integration). Traditional ADT or Vivint contracts lock you into $40–60/month monitoring and upfront equipment costs of $500+. First Alert splits the difference: affordable hardware, optional low-cost monitoring, and full DIY control.
When budgeting, account for the home alarm system battery replacements (roughly $15–30 per sensor, every 3–5 years) and any range extenders or additional sensors you might add later.
Conclusion
A First Alert alarm system is a practical, affordable way to secure your home without contractor fees or long-term monitoring contracts. The wireless hardware is genuinely DIY-friendly, the mobile app keeps you informed, and optional professional monitoring adds a safety net. Whether you’re a renter testing the waters or a homeowner retrofitting an older house, First Alert meets you where you are. Assess your entry points, choose sensors thoughtfully, install carefully (prep work and placement matter), and don’t skip the testing phase. Done right, you’ll have a system that works when you need it, and rarely false-alarms when you don’t.