Ornament decorating kits are more than just supplies: they’re gateways to creativity and festive joy. Picture this: a cozy holiday evening, soft music playing in the background, and a table filled with shiny baubles just waiting for a splash of personality. Who wouldn’t want to jump into that kind of artistic try? With the right kit in hand, you can transform ordinary ornaments into extraordinary masterpieces. Whether you’re a seasoned crafter or a newbie looking to add a bit of sparkle to your celebrations, this guide will cover everything you need to know about ornament decorating kits.
What Is an Ornament Decorating Kit?
An ornament decorating kit is essentially a collection of tools and materials designed for embellishing ornaments, allowing individuals to create unique decorations for their homes or events. These kits can vary widely in contents, ranging from basic supplies like paint and glitter to more elaborate options that include various shapes, embellishments, and even design templates. The beauty of these kits lies in their versatility, they can be used for holiday decorations, birthday parties, or even DIY gifts that show thoughtfulness and creativity.
Benefits of Using an Ornament Decorating Kit
Using an ornament decorating kit offers numerous benefits, making it an ideal choice for anyone looking to add a personal touch to their decor.
- Convenience: One of the biggest advantages of these kits is the convenience they offer. Instead of chipping away at craft supply stores to find individual items, everything is typically included in one package.
- Cost-effective: Purchasing a kit can save money over time. Bundled supplies often come at a lower price compared to buying items separately.
- Creativity Boost: Having all the tools in one place sparks creativity. Without the hassle of sourcing each item, individuals can focus more on the design process.
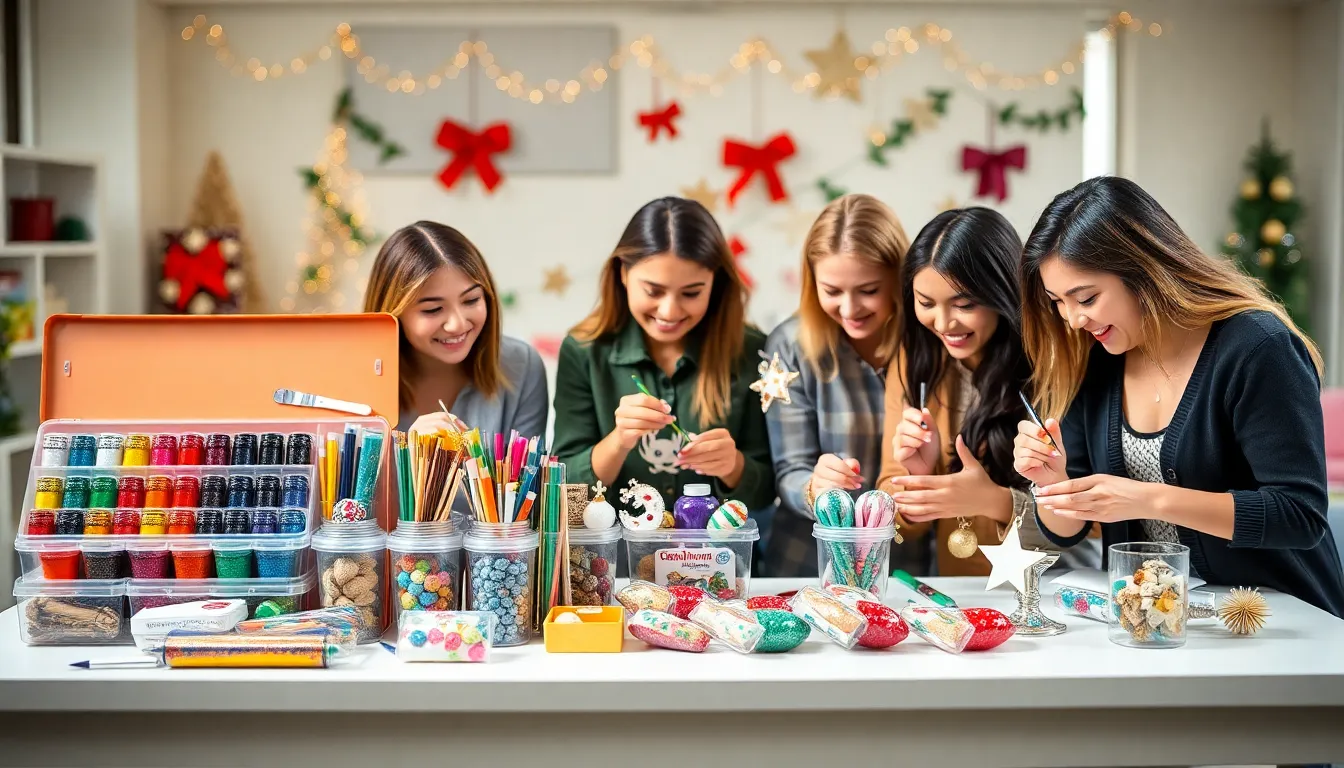
- Family Fun: These kits make for excellent family activities. Kids and adults alike can engage in decoration sessions, making lasting memories together.
- Customization: With all the elements included, creators can easily tailor their ornaments to fit personal styles or themes, ensuring their decorations are genuinely one-of-a-kind.
Choosing the Right Kit for Your Needs
When it comes to selecting the perfect ornament decorating kit, a few key factors should be considered:
- Skill Level: Understand the skill set of the user(s). Beginners might prefer simpler kits with clear instructions, while experienced crafters might relish the challenge of a more complex set.
- Project Purpose: Determine what the ornaments are intended for. Are they for a seasonal celebration, or do you aim to create year-round decorations? Some kits are tailored for specific occasions.
- Materials Quality: Look for kits that use high-quality materials. This ensures durability and helps achieve a professional finish.
- Variety and Versatility: Choose kits that offer a range of options, allowing for creative freedom. A good kit should contain various designs, colors, and textures.
- Budget: Like anything, budget plays a crucial role. Find a kit that meets your needs without very costly.
Essential Tools and Materials Included in Kits
A typical ornament decorating kit includes essential tools and materials to get started:
- Ornaments: These can vary from clear glass to wooden shapes, providing a blank canvas.
- Adhesives: Glues, sprays, or double-sided tape helps apply materials effectively.
- Paints: A selection of acrylic or spray paints allows users to add color and design.
- Embellishments: Ribbons, beads, glitter, and sequins give each ornament a unique flair.
- Brushes and Tools: Quality brushes are essential for painting, while tools like scissors and tweezers can help apply smaller elements with precision.
- Instructions: Many kits come with how-tos or design ideas to inspire creativity.
Step-by-Step Guide to Decorating Ornaments
Decorating ornaments can be a fun and fulfilling process. Here’s a simple step-by-step guide to get started:
- Choose Your Base: Pick an ornament from your kit. Clear glass or wooden ones are particularly forgiving and allow for creativity.
- Plan Your Design: Take a moment to sketch or envision how you want your ornament to look. Don’t forget to factor in the colors and materials available.
- Prepare Your Workspace: Lay down some protective covering for your work area. Crafting can get messy, so it’s best to be prepared.
- Start Painting: If using paint, apply the first coat evenly. Allow it to dry before adding additional layers or designs.
- Add Details: Incorporate embellishments. This can include glitter, stickers, or ribbons. Mix and match elements for a vibrant look.
- Finish and Seal: Consider sealing your design with a clear coat for added durability, especially if it’s for outdoor display.
- Let Dry: Allow adequate drying time before handling or displaying your newly decorated ornament.
Creative Ideas and Inspiration for Your Ornaments
Thinking outside the box is key when decorating ornaments. Here are some creative ideas to spark inspiration:
- Theme Ornaments: Create a set that revolves around a specific theme such as winter, nature, or your favorite holiday movie.
- Photo Ornaments: Use family photos or pets to personalize ornaments even further. You can print mini-size versions and decoupage them onto the ornaments.
- Storytelling: Tell a story with each ornament. Each can represent a memory or event from the past year.
- Nature-Inspired: Incorporate elements from nature, pinecones, leaves, or small twigs for an organic touch.
- Glow in the Dark: Use glow-in-the-dark paints for a fun twist, especially for children’s rooms or parties.
Tips for Displaying and Storing Your Decorative Ornaments
Once the ornaments are beautifully decorated, here are tips for displaying and storing them effectively:
- Display: Consider creating an ornament tree, using clear string to hang ornaments from a branch. This can be an eye-catching centerpiece.
- Shadow Boxes: Create a shadow box to showcase particularly special ornaments. This adds a layer of protection while highlighting your creations.
- Proper Storage: Store ornaments in a cool, dry place. Using tissue paper or bubble wrap ensures they remain intact and won’t shatter or become damaged over time.
- Labeling: For those with multiple kits or themes, labeling boxes or bins can simplify the process of finding specific ornaments.