Table of Contents
ToggleSetting up a Honeywell alarm system doesn’t require a licensed security installer, you can handle the basics yourself and save significantly on setup fees. Whether you’ve inherited one with a new home or you’re upgrading an existing system, understanding how your control panel, sensors, and keypad work together is the foundation for reliable protection. This guide walks you through the essentials: from unpacking and placement to programming zones, arming your system, and solving common glitches. Think of it as learning your home’s security language, straightforward and practical, without the jargon overload.
Key Takeaways
- You can self-install a Honeywell alarm system without a licensed professional by understanding the four main components—control panel, sensors, keypad, and power supply—and following straightforward programming steps.
- A Honeywell alarm system’s entry/exit delay timer (typically 30–60 seconds) and stay mode allow you to arm the system and leave safely without triggering false alarms.
- Wireless sensors require annual battery checks, while wired sensors are more reliable; most modern Honeywell systems blend both types for optimal flexibility and coverage.
- Proper sensor placement is critical: door/window contacts should align perfectly, motion detectors must be mounted 5–7 feet high away from heat sources, and all zones should report ‘OK’ before leaving home.
- Common issues like motion detector false alarms or ‘Fault’ zone readings are often caused by low batteries, incorrect sensitivity settings, or loose wiring—most can be resolved with basic troubleshooting before contacting support.
Understanding Your Honeywell Alarm System Basics
A typical Honeywell alarm system has four main components: the control panel (the brain), sensors (door and window contacts, motion detectors), keypad (where you arm/disarm), and a power supply with battery backup. The control panel monitors all zones, think of a zone as a single door, window, or motion detector. When a sensor detects a breach, it sends a signal to the panel, which can trigger a siren, notify you via app, or contact your monitoring service.
Honeywell systems come in wired or wireless variants. Wired systems run sensor lines through your walls: wireless use radio signals. Wired is more reliable in basements and has no battery worries for sensors. Wireless is easier to retrofit into existing homes but requires you to check batteries annually. Most modern Honeywell systems (especially their Total Connect series) blend both wired and wireless zones, giving you flexibility.
Your system’s entry/exit delay is the countdown timer that lets you arm and leave without triggering the alarm, usually 30–60 seconds. The stay mode arms perimeter sensors (doors and windows) but leaves interior motion detectors disarmed, perfect for sleeping or being home. Understanding these modes upfront saves frustration later.
Initial Setup and Installation Steps
Pre-Installation Checklist and Safety Considerations
Before touching anything, locate your system‘s documentation, the manual usually arrives with the control panel or is downloadable from Honeywell’s website. Turn off power at the breaker and unplug the battery backup to avoid accidental discharge. If you’re working on wired sensors, you’ll be running low-voltage wiring (typically 18–22 gauge) through walls: this isn’t a shock hazard, but wear eye protection when drilling through studs, and use a stud finder to avoid electrical or plumbing lines.
For wireless systems, check that your control panel is placed centrally in your home, concrete and metal reduce radio range, so avoid basements or metal-sided buildings if you can. Position the panel away from microwaves and cordless phones, which can cause interference.
Materials & tools you’ll need:
- Control panel + power supply
- Sensors (door/window contacts, motion detectors)
- Keypad
- Category 5 or 6 network cable (if hardwiring keypad)
- 18–22 gauge wire (for wired sensors)
- Drill with ¼-inch bits
- Wire strippers and crimpers
- Stud finder
- Mounting brackets (included with most panels)
- Screwdriver set
Measure your windows and doors before ordering sensors: standard 1-inch gaps suit most residential entry points. If you have sliding glass doors, order surface-mount contacts rather than door-frame recessed ones. Placement is critical: sensors on the hinge side of doors ensure they don’t bypass if the door swings open mid-alarm.
Programming Your Control Panel
Once your control panel is powered up, you’ll see a default installer code (often 12345 or printed in your manual). Enter it to access programming menus. First, set the system date and time, this affects when events are logged. Next, add your user code: your 4–6 digit PIN for arming and disarming. Honeywell systems allow multiple user codes, so you can give different PINs to family members or guests.
Now assign each sensor to a zone. Open the zone setup menu and input the zone number (1–10 or higher, depending on your model), the sensor type (door contact, motion, glass break), and whether it’s hardwired or wireless. Label each zone clearly in your notes, “Front Door,” “Garage Window,” “Living Room Motion”, so you know which zone triggered an alarm later.
For wireless sensors, you’ll perform a sensor pairing: the panel enters “learn mode,” and you trigger each wireless sensor (press the button or open the contact). The panel detects and enrolls it. Follow your manual’s sequence closely: missing this step means the panel won’t “hear” your wireless devices.
Set your entry/exit delays: typically 30 seconds to disarm before the siren sounds. Set stay mode to keep perimeter zones active while leaving motion detectors disabled. If you have a monitoring service, input their account number and your address, the panel transmits this when an alarm trips. Many modern Honeywell systems skip this step and rely on cellular or IP cloud connectivity, which you’ll configure in the Total Connect app instead.
Sensors and Detectors: Installation and Configuration
Door and window contacts are simple: a magnetic switch on the door frame, a magnet on the door or window. When the door opens, the magnet separates and the switch triggers. Surface-mount versions screw to the frame: recessed versions fit into a ¾-inch hole drilled into the frame and door edge. Recessed is cleaner, but surface-mount works fine and needs no drilling.
For surface-mount installation: drill a small pilot hole, screw the switch body to the frame, then attach the magnet to the door/window at the same height. Test by opening and closing, the magnet should align with the switch as they pass each other. If the fit is loose, a small magnet-alignment spacer (included) fine-tunes it.
Motion detectors use infrared to sense body heat. Mount them 5–7 feet high in a corner of the room where they have a clear line of sight to entry points but avoid pointing directly at heat sources (radiators, sunny windows) or air vents, which cause false alarms. Test your motion detector by walking past it after arming in test mode, most Honeywell panels have a test mode (check your manual) that logs trips without sounding the siren.
Glass-break sensors sit near windows and detect the high-frequency sound of breaking glass. They’re less prone to false alarms than motion detectors but won’t catch a quiet break-in. Pair them with magnetic contacts for doors, layers of protection are cheaper than a break-in.
After installing all sensors, check the system status display or app to confirm every zone reports as “OK” or “secured.” A zone stuck in “alarm” or “fault” means the sensor is either triggered, disconnected, or not paired. Walk through a diagnostic: open each door/window once, verify the zone changes, close it. A motion detector showing “alarm” when no one moved means it’s too sensitive or detecting heat reflections, adjust angle or sensitivity in programming.
Arming, Disarming, and Daily Operation
To arm your system, enter your user code on the keypad (or open the app) and press the “Arm” button. Most Honeywell systems offer two modes: “Away” (all zones active) and “Stay” (perimeter only, motion off). Choose the appropriate mode, wait for the entry/exit delay countdown, and confirm when armed, you’ll hear a beep or see a confirmation on the keypad.
When you arrive home, you have the entry/exit delay (default 30–60 seconds) to disarm before the siren triggers. Enter your code and press “Disarm.” If you accidentally open a window without disarming first, the panel will alert you: “Zone 5 Open” or similar. Close it, then disarm, no false alarm.
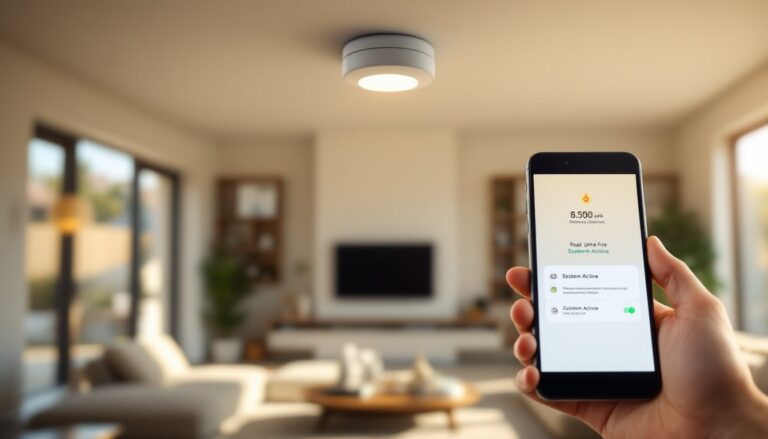
While armed, any zone breach triggers the siren and sends alerts to your phone (if using Total Connect). The siren typically runs for 2–3 minutes before the panel stops it automatically, but monitoring services alert police instantly. If you trigger the alarm accidentally, disarm immediately and contact your monitoring service within a set window (often 30 seconds) using a preset verbal or code: otherwise, they dispatch.
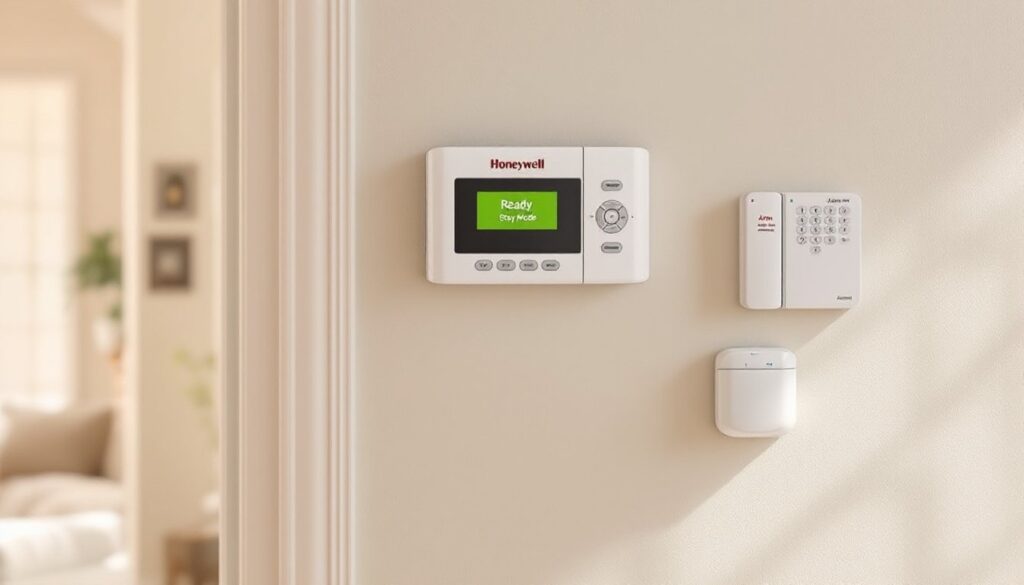
For routine operation: check your keypad status display each morning. It should show “Ready” in Stay Mode or “Armed” in Away Mode. A zone showing “”Fault”” or “”Bypass”” means it’s disconnected (low battery, loose wire, or sensor unpaired). Fix it before leaving. Many homeowners integrate Total Connect (Honeywell’s cloud app) to arm/disarm remotely, check sensor status, and receive real-time alerts, this is optional but convenient and worth exploring.
Troubleshooting Common Issues
Sensor shows “Fault” or doesn’t respond: Wireless sensors have batteries (usually AA or 9V) that die after 2–3 years. Replace and test, most panels announce “Low Battery” alerts before a sensor quits entirely. Hardwired sensors rarely fault unless wiring is loose: check terminal screws on the control panel’s sensor input board. If you see corrosion on terminals, spray with electrical contact cleaner and reseat the wire.
Motion detector triggers constantly: This is the most common nuisance. It’s likely pointing at a heat source (sunlight, vent, heater), too sensitive, or detecting pets. Rotate the detector to avoid direct sunlight and adjust the sensitivity dial on the back of the unit downward, test again in test mode. If you have pets, buy a pet-immune motion detector (usually $30–50 more) that ignores movement below waist height.
Keypad won’t respond or shows “Installer Code Locked”: If you’ve entered the wrong code too many times, the keypad locks temporarily. Wait 15–20 minutes, then try again. If it’s truly unresponsive, check power, a low power supply voltage or dead backup battery can cause this. Disconnect power, replace the backup battery (typically a 12V sealed lead-acid), wait 30 seconds, and reconnect.
Can’t connect to Total Connect app: This is usually a network issue. Ensure your Wi-Fi router is within 50 feet of the control panel and that your internet is working. Log out of the app, clear cache, and log back in. If the panel shows no network connection, check that network settings in programming include your Wi-Fi credentials. Changing your Wi-Fi password requires re-entering credentials in the panel’s network menu.
Entry delay runs out but alarm hasn’t armed yet: Make sure all zones show “OK” on the keypad status screen before arming. An open door or low-battery sensor prevents arming. For persistent issues beyond basic troubleshooting, consult your manual’s troubleshooting section or contact Honeywell technical support, they’re usually free for the first year after purchase. Avoid posting your installer code online when seeking help.