Table of Contents
ToggleA sensor contact system alarm is one of the most straightforward ways to secure your home’s entry points. Unlike motion detectors or cameras that monitor interior space, contact sensors sit on doors and windows, telling your alarm system the moment someone opens them. They’re the foundation of any solid home security setup, the early-warning system that lets you know if an unauthorized entry is happening. If you’re building a DIY security system or upgrading an aging alarm, understanding how contact sensors work and which type fits your situation is essential. This guide walks you through the mechanics, options, and installation realities so you can make an informed choice.
Key Takeaways
- A sensor contact system alarm detects entry through doors and windows using magnetic switches that break a circuit when opened, triggering alerts to your control panel or monitoring service.
- Proper alignment and testing of contact sensors is critical during installation—sensors mounted too close to frame edges or misaligned can cause false alarms or missed detections.
- Wireless battery-powered contact sensors are ideal for renters and quick DIY installations, while hardwired systems eliminate battery management and provide long-term reliability for permanent homes.
- Coverage of 8 to 20 contact sensors across main doors, sliding glass doors, and accessible ground-floor windows provides baseline to comprehensive home security protection.
- Monthly testing and annual battery replacement ensure your sensor contact system alarm remains effective and responsive to unauthorized entry attempts.
- Wireless sensors typically cost $150–$400 for a basic kit, while hardwired DIY installations range $300–$700, plus professional monitoring fees of $15–$50 per month if you choose that option.
What Is a Sensor Contact System Alarm?
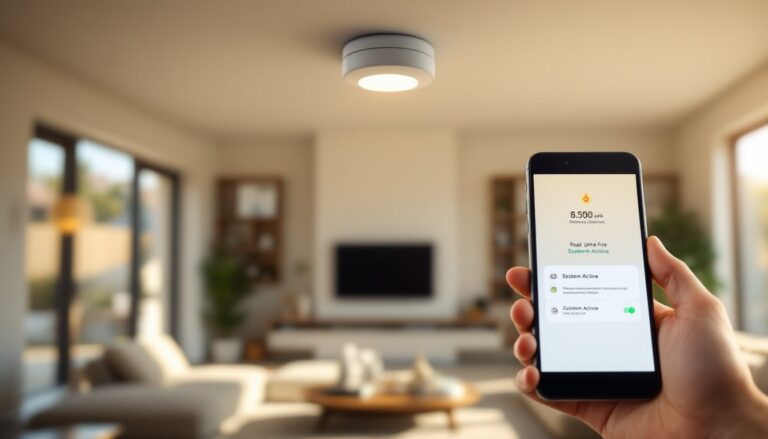
A sensor contact system alarm is a security setup built around door and window sensors that detect when a protected entry point opens. Each sensor consists of two parts: a magnet (called the actuator) mounted on the moving part (door or window sash), and a switch unit mounted on the frame. When the door or window closes, the magnet aligns with the switch and completes a circuit. If the door or window opens, the magnet moves away, breaking the circuit and triggering an alarm signal. These sensors don’t monitor motion or presence, they’re purely binary devices: open or closed. They’re passive systems, meaning they draw minimal power and can operate for months on a single battery. This simplicity is exactly why they’re reliable and why they’ve been the backbone of home security for decades. A typical home might have 10 to 20 contact sensors covering main doors, sliding glass doors, and accessible windows. The sensors wire back (or in wireless systems, transmit) to a control panel that arm/disarms the entire system and decides what happens when a sensor triggers: sound an alarm, send a phone notification, alert a monitoring service, or all three.
How Sensor Contact Systems Work
Contact sensor systems rely on a basic closed-loop circuit. The magnetic switch is normally open (not conducting). When the magnet is near, door closed, window closed, it actuates the switch, closing the circuit. A small amount of current flows through the circuit, keeping the system in a “normal” state. The control panel monitors this current. If the door opens, the magnet moves away, the switch opens again, and the circuit breaks. The control panel detects the interruption and triggers its alarm logic. In hardwired systems, sensors connect to the panel via thin twisted-pair wiring (typically 18 or 22 AWG cable) run through walls during installation. In wireless systems, each sensor has a small radio transmitter powered by a coin-cell or AA battery. The transmitter sends a signal to the control panel when the circuit breaks.
The Role of Magnetic Sensors
Magnetic sensors work because of a reed switch, a pair of ferrous metal contacts sealed inside a glass tube. When exposed to the magnetic field of the actuator magnet, the contacts bend slightly and touch each other, completing the circuit. Reed switches are extremely reliable because there’s no mechanical friction: the contacts are sealed and don’t wear out. They also have no polarity, so you can’t install them backward. The magnet strength is calibrated so the switch activates only when the door or window is fully closed. If the door is ajar by more than roughly half an inch, the magnet may be too far away and the switch won’t close. This is why proper sensor alignment during installation matters: a crooked mounting can create false alarms or failed detections. Most modern wireless sensors include a small LED indicator that blinks when the switch opens, helping you test positioning before final mounting.
Types of Contact Sensors for Home Security
Contact sensors come in several flavors, each suited to different installation scenarios and security strategies.
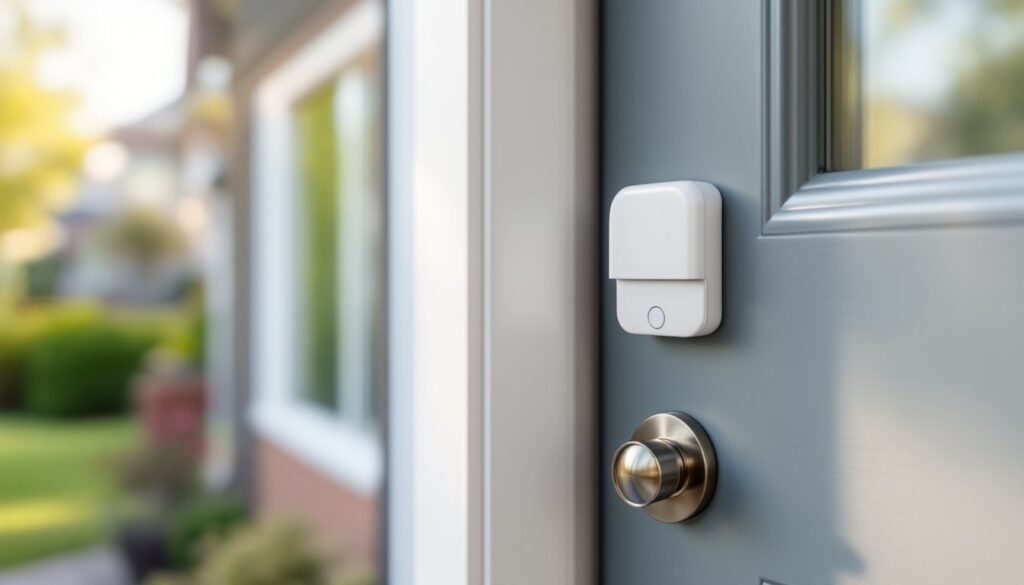
Surface-mounted sensors are the simplest and most common for DIY installs. They’re small plastic or metal boxes (usually 2 to 3 inches long) that stick to the inside of the door frame or window sill with adhesive backing or small screws. The magnet half mounts on the door or sash. Because they’re visible, they can also serve as a deterrent, intruders see the sensors and know the building is alarmed. Surface mounting avoids the need to route wiring through walls and doesn’t require drilling into frames, making it ideal for rental properties or situations where you don’t want to modify the structure.
Recessed sensors are embedded into the top of a door frame or bottom of a window sash, hidden from view. Installation requires drilling a shallow pocket and routing wiring, making them more involved but more discreet. Recessed sensors look cleaner and can’t be easily disabled by an intruder who spots them. They’re standard in professional installations and new construction but more work for DIY.
Roller-latch sensors combine a mechanical plunger (that detects if a door is fully shut) with a magnetic contact sensor. The plunger acts as a redundant check: if someone tries to slip the door latch, the plunger triggers before the magnetic contact breaks. Roller-latch sensors are bulkier and cost more but provide extra security on heavy-traffic doors or entries you want to guarantee are fully closed.
Wireless vs. hardwired: Wireless sensors communicate via radio frequency (typically 900 MHz or 2.4 GHz) to the control panel. They’re batteries-powered, easiest to install, and ideal if you want to add coverage without running cable. Hardwired sensors need low-voltage wiring run through walls: they draw power from the panel, so no batteries to replace, but installation requires more planning and wall access. Hardwired systems are more common in new construction or whole-home retrofits: wireless is better for retrofitting existing homes or renting.
Smart/WiFi sensors connect directly to your home WiFi and can send notifications to your phone via an app, often without requiring a separate control panel. They’re convenient but depend on your internet connection. If your WiFi goes down, they may not send alerts (though they usually have local alarm backup).
Installation Considerations for DIY Homeowners
Before you buy sensors, walk through your home and identify every point of entry: exterior doors, sliding glass doors, ground-floor windows, and any other accessible openings. Mark them on a sketch. For a modest house, 8 to 12 sensors (covering main doors and accessible windows) provide baseline security: larger homes or those with lots of glass may need 15 to 20.
For surface-mounted wireless sensors: The process is straightforward. Clean and dry the installation surface with a cloth and rubbing alcohol, dust or moisture reduces adhesive stick. Position the switch unit on the frame and the magnet on the moving part (door or sash), aligned so the magnet is near the switch when closed. Press firmly and hold for 30 seconds. Test the sensor with the door or window open and closed: most wireless sensors have a test button or LED that confirms transmission. Wireless sensors typically use CR2032 coin cells or AA batteries and last 1 to 2 years depending on how often the door opens. Mark the battery replacement date on your calendar or sensor with a label.
For hardwired surface-mounted sensors: You’ll route low-voltage cable (18 or 22 AWG, typically white or twisted pair) from the control panel to each sensor. Staple the cable along baseboards, up corners, or through conduit if you want it hidden. Solder or crimp connections at terminals: avoid twisting and taping bare wire, which corrodes. Label every wire end with tape so future troubleshooting is easier. Hardwired systems are more labor-intensive but eliminate battery management.
Avoid common mistakes: Don’t mount sensors too close to the edge of the frame: movement or settling of the door can throw off alignment. Don’t forget sensors on sliding patio doors, these are common entry points. Don’t skimp on window coverage on ground floors or those accessible from porches or garages. Test every sensor monthly by opening and closing its entry point and confirming the control panel registers the signal. If wireless, swap in fresh batteries once a year even if the unit hasn’t alerted you: low batteries sometimes fail silently.
Choosing the Right Sensor Contact Alarm System
Choosing a system depends on your home, your technical comfort, and your security goals.
For renters or those who want zero installation hassle: A wireless battery-powered system is your best bet. These systems come as kits with a hub, a few door/window sensors, and often a wireless keypad. Setup takes an hour. Popular options include systems with cloud backup and mobile apps so you can check status from anywhere. Because there’s no hardwiring, you can take everything with you if you move.
For permanent installations in owned homes: You can choose between hardwired or hybrid (mix of hardwired main doors and wireless secondary sensors). Hardwired systems are more reliable in the long term and eliminate battery replacement. But, installation requires running cable, possibly through walls, which means more planning and labor.
For maximum simplicity and modern integration: Smart systems that integrate with platforms like Google Home or Alexa let you arm/disarm from your phone and receive real-time alerts. These typically use wireless sensors and a cloud-connected hub. The tradeoff is a monthly or annual monitoring fee (ranging from $15 to $50+/month) if you want professional monitoring.
Professional monitoring vs. self-monitoring: A professionally monitored system sends signals to a central station when an alarm triggers. Operators verify the alert and can dispatch emergency responders. This adds confidence but costs money. Self-monitored systems alert you via app or siren, and you decide to call 911. Self-monitoring is cheaper but puts the burden on you to respond quickly.
Integration with the rest of your setup: Consider whether you want contact sensors to work alongside motion sensor alarms for home security, home door alarms, or smart locks. A unified system, where one app controls everything, is more convenient but requires compatibility. Check that any sensors you buy will integrate with your existing devices or future plans.
Budget reality check: A basic hardwired system runs $300–$700 installed DIY: a professional installation adds $500–$1500 depending on wiring complexity. Wireless kits start around $150–$400. Professional monitoring adds $15–$50 per month. Expect to spend more if you want cellular backup (in case your internet goes down) or if you’re retrofitting a complex older home. Cost estimates vary by region and material availability, so get local quotes if hiring help.
Conclusion
Sensor contact system alarms are the backbone of home security. They’re affordable, reliable, and straightforward enough for a confident DIY install. Whether you go wireless for simplicity or hardwired for permanence, proper sensor placement and regular testing keep your system effective. Size your system to cover all accessible entries, check alignment during installation, and replace batteries annually. A well-installed contact sensor system gives you confidence that you’ll know the instant an unauthorized entry is attempted.