Table of Contents
ToggleWindow and door contact sensors are the foundation of any modern home security system. These small but mighty devices monitor entry points in your home, sending alerts to your phone or security panel the moment a door opens or a window is breached. Unlike motion detectors that trigger on movement, contact sensors work 24/7 to guard the physical boundaries of your home, whether you’re there or away. Whether you’re protecting against break-ins, monitoring teenage comings-and-goings, or simply checking if a basement door accidentally swung open, alarm window and door contact sensors deliver dependable, always-on protection that works hand in hand with your home security strategy.
Key Takeaways
- Alarm window and door contact sensors use magnetic reed switches to detect entry point openings in milliseconds, providing 24/7 perimeter monitoring regardless of whether you’re home or away.
- Wireless battery-powered contact sensors last 12–24 months per battery set and cost $15–$30 per unit, making them a cost-effective DIY option that requires no wiring or professional installation.
- Proper magnet-sensor alignment within ½ inch is critical to preventing false alarms; misalignment is the #1 installation error and requires rechecking seasonally as doors and windows settle over time.
- Surface-mounted contact sensors account for over 60% of residential installations due to their ease of deployment, while recessed models offer better aesthetics for visible entry points.
- Layering window and door contact sensors with motion detectors and glass break sensors creates comprehensive coverage that guards both perimeter entry points and interior movement.
- Some homeowners’ insurance providers offer 5–15% discounts for monitored security systems, and a typical three-bedroom home requires 8–12 sensors with total hardware costs of $160–$360.
What Are Window and Door Contact Sensors?
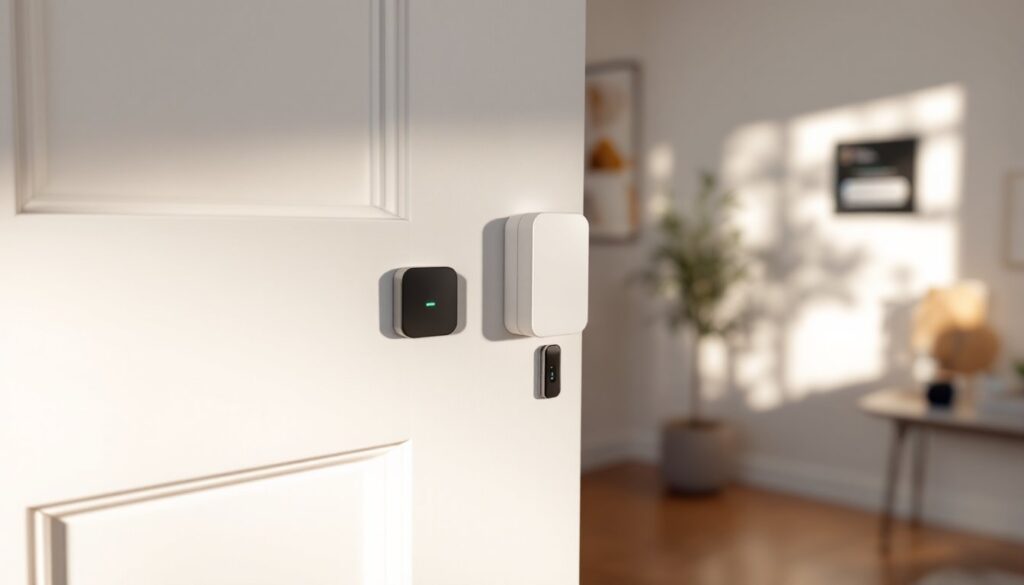
Window and door contact sensors are simple but effective devices that detect when an entry point is opened or closed. Each sensor consists of two parts: a magnetic transmitter mounted on the door or window frame, and a sensor receiver attached to the moving panel (the door itself or the window sash). When the door or window opens, the magnet separates from the sensor, triggering an electrical circuit that sends a signal to your security system. The system then logs the event and can sound an alarm, send a notification to your phone, or both, depending on how you’ve programmed it.
These sensors are wireless in most modern systems, meaning no running wires through walls or drilling complicated pathways. Battery-powered models typically last 12 to 24 months on a single set of batteries, though some hardwired systems draw power directly from your security panel. Contact sensors come in different shapes and sizes: recessed models hide inside window and door frames for a cleaner look, while surface-mounted versions stick to the outside of frames and are quicker to install.
How Contact Sensors Work
At their core, contact sensors rely on a reed switch, a tiny electrical component that closes a circuit when exposed to a magnetic field. When the door or window is closed, the magnet keeps the circuit open. The moment the entry point opens and the magnet moves away, the reed switch activates, completing the circuit. This signal travels wirelessly to your security panel, which interprets it and triggers your chosen response. The whole process happens in milliseconds, making these sensors among the most responsive security devices available.
Battery-powered sensors transmit their signal using radio frequencies, usually in the 915 MHz or 2.4 GHz range depending on your system’s protocol. Hardwired sensors send signals through dedicated wiring back to the main panel. Both methods are reliable and have minimal false-alarm rates when properly installed. The main difference is flexibility: wireless sensors can be placed anywhere within range of your panel, while hardwired sensors require careful planning during installation.
Types of Contact Sensors for Home Security
Contact sensors come in several varieties, each suited to different security needs and installation scenarios.
Wireless battery-powered sensors are the most popular choice for DIY installations and retrofit projects. They mount quickly, require no wiring, and work with most modern security systems. Battery life is typically 12–24 months, depending on how frequently the entry point is opened and closed. These are ideal if you’re upgrading an existing system or renting and can’t drill into walls.
Hardwired sensors connect directly to your security panel via low-voltage wiring, eliminating battery replacement and offering slightly faster signal transmission. They’re often integrated into professional installations or new construction, where wiring can be run during framing. Installation is more involved but offers a permanent, tamper-resistant setup.
Recessed (flush-mount) sensors sit inside the frame of doors and windows, creating a seamless appearance. The magnet and sensor components are installed during frame preparation or retrofitted into existing frames with careful drilling. These cost more and require more precision during installation, but they’re worth it for visible windows or high-end finishes where aesthetics matter.
Surface-mounted sensors attach to the outside of frames with adhesive or screws. They’re the easiest and fastest to install, making them perfect for renters or temporary setups. Visually, they’re more noticeable, but they’re durable and reliable. A study on best door and window sensors for 2025 shows that surface-mounted models account for over 60% of residential installations due to their ease of use.
Glass break sensors detect the sound frequency of breaking glass, adding an extra layer of protection for large windows that criminals might target. These are best used alongside contact sensors for comprehensive coverage.
Installation Tips for Window and Door Sensors
Proper installation is critical to sensor reliability. Poor placement or incorrect alignment can result in false alarms or missed detections, so patience during setup pays dividends.
Surface-mounted installation (the most common DIY approach) takes 10–15 minutes per sensor:
- Clean the frame and door/window surface with rubbing alcohol and let it dry completely. Dust and residue prevent adhesive from bonding properly.
- Measure and mark the placement: mount the receiver on the stationary frame, and the magnet on the moving panel, aligned with each other.
- Peel the backing from the adhesive strip and press firmly for 10 seconds. For extra security on heavy doors, use small wood screws instead of adhesive alone.
- Test the sensor by opening and closing the door or window and confirming the signal reaches your panel or phone app.
- Battery-powered sensors typically pair to your system using a simple enrollment code, check your panel’s manual for the exact process.
Recessed installation requires more precision:
- Measure and mark the location inside the frame (typically 1-2 inches from the edge).
- Drill a 7/8-inch hole into the frame, keeping it square and straight, a drill press or steady hand with a cordless drill works fine.
- Insert the sensor housing and secure it flush with the frame surface.
- Install the magnet on the corresponding panel (door or window sash) so it aligns with the sensor when closed.
- Test alignment by checking that the magnet sits directly opposite the sensor with no gaps.
Critical alignment rule: Magnet and sensor must be within ½ inch of each other when the door or window is fully closed, and they must remain within ½ inch as the panel moves. Misalignment is the #1 cause of false alarms. For sliding doors and windows, this can be tricky, use a small level to ensure the sensor and magnet track together.
Safety reminder: Wear safety glasses when drilling, especially if drilling into wood frames near your face. For hardwired installations, ensure power to the security panel is off before running low-voltage wiring.
A motion sensor alarm for home system works best when paired with contact sensors, covering both perimeter entry points and interior movement. For specific installation challenges with existing systems, a home alarm repair professional can ensure everything is connected correctly.
Benefits of Installing Contact Sensors
Window and door contact sensors offer multiple layers of security and convenience that go beyond simple burglar detection.
Comprehensive perimeter monitoring is the primary benefit. Every entry point, front door, garage, basement windows, sliding doors, can be monitored simultaneously, creating a complete picture of who’s coming and going. If one sensor is triggered, your system records it with a timestamp, giving you a detailed log of activity over days or weeks.
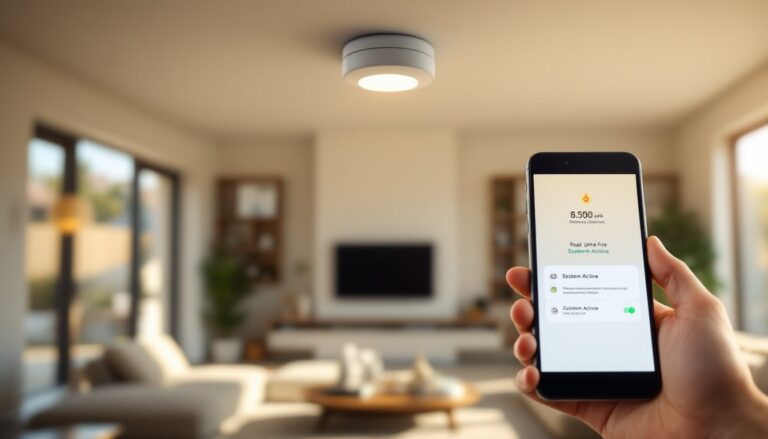
Instant notifications keep you informed in real time. Most modern systems send push notifications to your phone the moment a sensor triggers, whether you’re at work, on vacation, or upstairs asleep. This allows you to verify the alert and respond immediately, rather than waiting to check a log.
Cost-effective security is another key advantage. Contact sensors are among the cheapest security devices available, typically $15–$30 per sensor for quality models, compared to $100+ for professional installation fees or monthly monitoring charges. A DIYer can outfit an entire home for a few hundred dollars.
Dual-purpose use extends beyond security. Many homeowners use contact sensors to monitor if kids left a window open, if a basement door was left unlocked, or if the garage door was properly closed. They’re equally useful for reminder notifications as they are for deterrence.
Insurance benefits often apply. Some homeowners’ insurance providers offer modest discounts (usually 5–15%) for homes with monitored security systems, potentially offsetting the installation cost over a few years. Check with your provider for specifics.
Low maintenance means they work reliably with minimal upkeep. Battery-powered sensors require a battery swap every 1–2 years, and hardwired sensors need only the occasional check to ensure proper alignment and function. No moving parts means fewer things that can break. Systems reviewed at good housekeeping’s best door and window alarms note that modern sensors are 99.9% reliable when installed correctly.
Choosing the Right Sensor for Your Home
Selecting the right contact sensors depends on your home’s layout, security goals, and budget.
For rental properties or temporary setups: Go with wireless, battery-powered, surface-mounted sensors. They require zero damage to walls or frames and can be moved to your next home. Brands offering simple smartphone pairing tend to be easier to manage without professional help.
For new construction or major renovations: Consider hardwired sensors paired with a professional install. Wiring can be run during framing, keeping everything hidden and permanent. This approach costs more upfront but eliminates battery replacement and offers higher reliability.
For aesthetic priority: Recessed sensors are worth the extra cost and installation care. They’re invisible from the outside and maintain the clean appearance of finished frames.
For comprehensive coverage: Layer contact sensors with motion detector systems and glass break sensors. Contact sensors guard entry points, while motion detectors add interior coverage if someone manages to breach a door or window. Glass break sensors protect large windows that are accessible from ground level.
For homes with smart systems: Ensure your chosen sensors integrate with your phone app and existing smart home devices (locks, lights, thermostats). Some systems allow automation, for example, turning on lights when a door opens after dark.
Budget considerations: A typical three-bedroom home needs 8–12 sensors (front door, back door, garage entry, 4–6 windows, basement entry). At $20–$30 per sensor, expect $160–$360 in hardware alone, plus the security panel itself (typically $200–$600 for DIY systems). Professional monitoring adds $15–$50 monthly.
Common Mistakes to Avoid
Skipping surface prep is the fastest way to install a sensor that falls off within weeks. Dust, paint residue, and moisture prevent adhesive from bonding. Clean with alcohol and let surfaces dry completely before mounting.
Poor magnet-sensor alignment causes false alarms. Spend the extra minute measuring and leveling to ensure they track within ½ inch as the door or window moves. A sliding door that sags even slightly can go out of alignment over time, so recheck after a few weeks.
Placing sensors too far from the security panel (beyond the panel’s wireless range, typically 50–100 feet indoors) creates dead zones. If a sensor doesn’t connect reliably, relocate the panel or use a wireless repeater to extend range.
Forgetting to account for door/window movement. Doors and windows shift and settle over time. A sensor perfectly aligned in winter might be misaligned by summer if your home shifts slightly or hinges settle. Test alignment at least once per season.
Installing only on easily visible entry points. Ground-level basement windows and sliding glass doors to patios are common break-in targets, don’t skip them just because they’re less obvious.
Neglecting battery replacement schedules. Mark your calendar when you install new sensors so you swap batteries before they die and leave a gap in coverage. A dead sensor provides zero protection.